
First-person pixel art has never been achieved, until now.
Let me walk that back: The dream of the first-person pixel art game has always been imperfectly realized.
What does first-person pixel art even mean? Here’s a game you might have seen before:
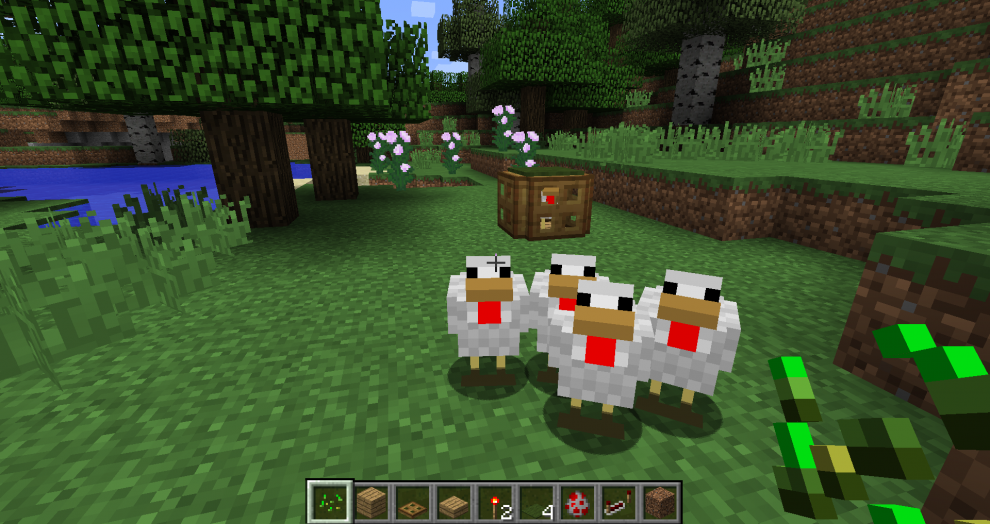
If you look closely, you might notice something strange. I’ll give you a hint:
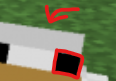
That’s right. There are smaller pixels. The illusion is shattered: Minecraft is actually a high-res game, with low-res textures.
Are there any games that actually render at a lower resolution? There aren’t that many.
The reason becomes clear if you try to play one. The low resolution results in an effect called shimmering. Essentially, because of the low resolution, we end up sampling high frequency detail with only a small number of points. This results in sharp changes in color as we move the camera, and is particularly noticeable at the edges of objects.
And even worse, if you move your screen fast enough, persistence of vision kicks in and it doesn’t really look like pixel art anymore, it just looks like regular, albeit blurry gaming:
Personally, I’m a huge fan of the low internal render-resolution of the PS1/N64 era, and love games that emulate this style. However, this isn’t really what I want when I think “first-person pixel art”.
What I really want is this:
If you hang around in game-dev circles, you may have recently come across one of these videos. The effect is most noticeable in fullscreen.
If you don’t find this technique instantly fascinating, it’s hard to explain what exactly it’s doing differently. It’s not like Minecraft, and it’s not like Kileak, so I’ll call this technique Shadowglass.
Let’s try to list what Shadowglass does differently than the Kileak approach:
- Pixel stability: As the camera moves, so do the pixels. Whether you rotate the camera, or move around in space (walking), the pixels seem to remain solid, defined chunks.
- Minimal shimmering: Because of the pixel stability, there is very little shimmering around the edges of objects as you move around.
- Clear distant details and smooth transitions: Very far away objects and buildings remain remarkably clear, and almost look like hand-painted skyboxes, and smoothly transition to high-res versions of themselves when you get close to them.
Reproducing the Shadowglass technique
I do some game-dev as a hobby, and ever since I saw the Shadowglass video, I’ve been turning it over in my head. It’s almost like a magic trick that seems impossible. It’s certainly possible to achieve minimal shimmering with an orthographic camera, by moving the camera in pixel-size steps, but this was a perspective camera.
I really had no clue on how to replicate it until I saw this video:
This was the first half of the puzzle: By rendering into a low-res cubemap, you could rotate the camera (look around) without the pixels moving at all.
This does mean that the pixel effect is still somewhat fake: Just like Minecraft, you’re rendering a high-res slice of the low-res cubemap. Unlike Minecraft, however, you get the effect of a 2D sprite, especially in the distance.
Still, this is only half of what Shadowglass achieves. In Shadowglass, there’s no shimmering, even if you walk around. After learning about the cubemap technique, I did have a pretty strong suspicion on how Shadowglass worked under the hood:
Reprojection
If you assume:
- That Shadowglass is using a cubemap.
- And that if you move a perspective camera in space you will get shimmering (note: a cubemap camera is just 6 perspective cameras).
Then the inevitable conclusion is that Shadowglass is using cubemaps, but isn’t moving them.
But the camera obviously moves in Shadowglass, so it must be moving the cubemap. This is a contradiction. But there’s a solution. It’s possible to fake moving something using a technique called reprojection.
Reprojection is common in VR, where low framerates can cause motion sickness. Reprojection allows you to render the game at a lower framerate, let’s say 45FPS, but shift/warp each frame to follow the VR headset position and rotation at a higher rate (usually 90FPS).
In this case, rather than reprojecting frames for a VR headset, we’re reprojecting the cubemap for our in-game camera. We can render the cubemap at a low “framerate” (i.e. at fixed positions) and reproject the cubemap as we move around in space.
This is what I needed to complete the illusion. After implementing reprojection I had a basic replica of the Shadowglass technique functioning:
For comparison, here is the same scene simply rendered at a low resolution:
As you can see, the shimmering is much more significant in the second video. In the first video, the castle in the distance is basically entirely static, almost like a 2D sprite.
How do we reproject the cubemap?
In order to accurately reproject the cubemap, we’re also going to need a cubemap depth buffer. A depth buffer looks something like this:
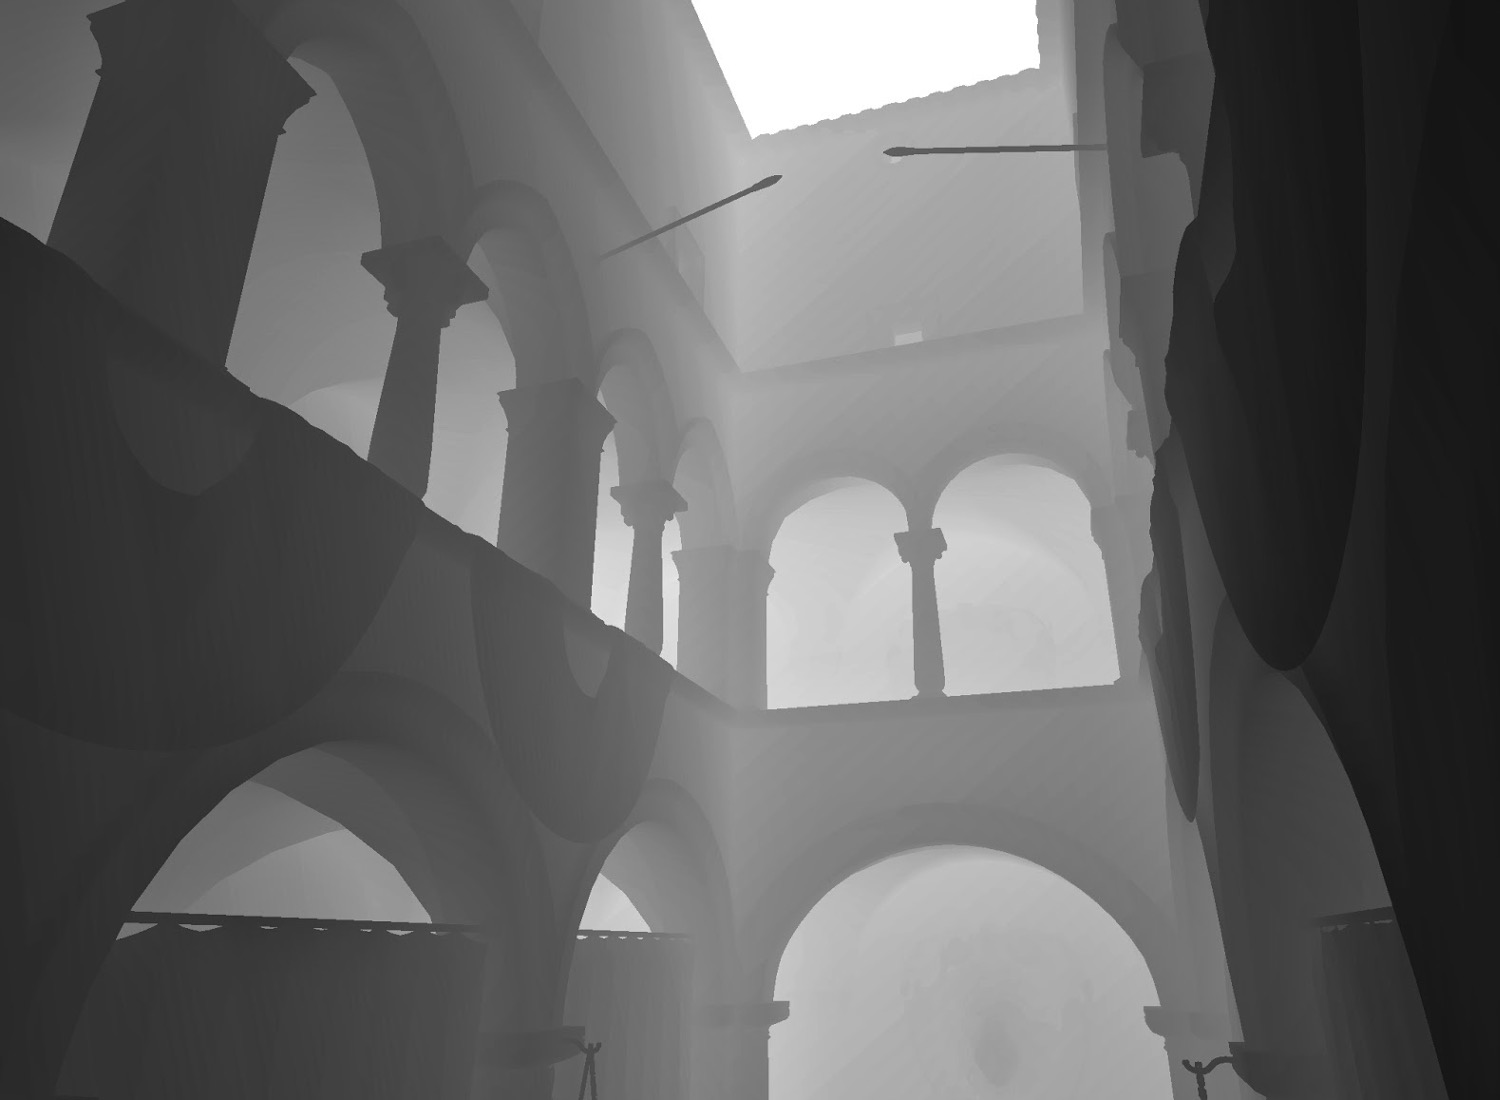
The reason we need the depth buffer is pretty intuitive. If you move your head from side to side, objects that are closer to you will move more than objects further away from you. This effect is called parallax.

If we want to properly replicate this effect, we need to know how far each pixel on the cubemap is from the camera. Fortunately, through the magic of rendering the scene twice, we can have both a color cubemap and a depth cubemap.
We can raymarch our depth cubemap, using the camera offset from the point at which the cubemap was rendered to offset our cubemap ray. When we hit a point, we can sample from that point on the color cubemap. Here’s some pseudocode to make this process more clear:
# Inputs:
# cubemapOffset : viewer offset from cubemap origin (world space)
# dir : normalized view direction from viewer
# depthCube : cubemap storing linear depth from cubemap origin
# colorCube : cubemap storing color
# maxSteps : raymarch step countdef RaymarchCubemap(cubemapOffset, dir, depthCube, colorCube, maxSteps):
maxTravel = DEPTH_MAX
# Exponential stepping: more precision near the viewer
stepBase = pow(maxTravel, 1.0 / maxSteps)
step = stepBase
for i in 0 .. maxSteps-1:
t = step
# World-space point along the view ray
worldPos = cubemapOffset + dir * t
# Convert point to a cubemap lookup direction
cubeDir = normalize(worldPos)
# Distance from cubemap origin to this point
pointDist = length(worldPos)
# Stored surface distance along this direction
surfaceDist = depthCube.sample(cubeDir) * DEPTH_MAX
# If we reached or crossed the surface
if pointDist >= surfaceDist:
# If we overshot badly, treat as a miss
if pointDist > surfaceDist + step:
return ???
# Otherwise, this is a hit
return colorCube.sample(cubeDir)
# Advance ray (exponentially)
step = step * stepBase
# No intersection found
return transparent
Notice the ???. The depth map doesn’t record the thickness of objects, so as a heuristic, I assign an arbitrary thickness that scales based on the distance from the camera. But since we’ve assigned a thickness, this means that as we raymarch the depth cubemap, it’s possible for a ray to go behind the reprojected cubemap, especially if our cubemapOffset is significant. We can solve this by falling back to a cubemap that doesn’t ever get reprojected (i.e. always follows the camera). This solution results in some shimmering around the edges of objects.
Here’s a visualization of what it looks like if we don’t do this fallback approach, and instead just fill in missing areas with magenta:
As you can see, the parallax can get pretty significant, depending on the depth level.
Completing the illusion
We still do need to move the cubemap every once in a while. As we move around in space we need to render new perspectives. Ideally, we make this transition as smooth as possible.
Here’s how I handle this:
- Render the cubemap from some static point
- As we move in space, continually reproject that cubemap
- If we move far enough, render to a new cubemap
- Smoothly blend from the first cubemap to the second cubemap
I actually have 3 cubemaps. It makes more sense to set the cubemap re-render distance to be higher with farther away objects. So I use one cubemap for far away objects, one for medium, and one for close-up. For the close-up cubemap, I don’t do any reprojection. As described above, we can use this close-up cubemap as a fallback when there is missing data during the reprojection process.
Here’s how I have this set up in Unity:
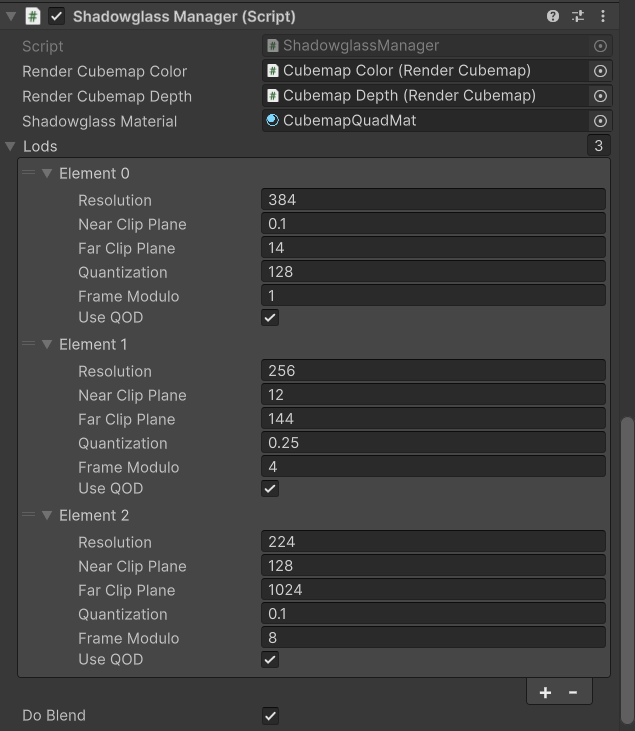
Since each cubemap is separate, I can actually render them at different resolutions. Rendering the furthest cubemap at a lower resolution exaggerates the effect.
Optimization
I haven’t done much optimization here, but rendering 3 cubemaps twice isn’t cheap. That’s 2 x 3 x 6 = 36 renders, per frame. Here are the main optimizations that I would implement if I wanted to use this technique in a real game:
- Only render the required faces of the cubemap. Situated inside the cubemap, you can only see 3 faces at once, maximum.
- Don’t render twice for the depth map. It should be possible to extract the depth map during the color pass.
- Render the further away cubemaps more infrequently, at a lower framerate. Since we’re reprojecting them, we don’t care as much about their framerate.
- Note that if you did this, objects that moved in the distance (non-static objects) would only be rendered as frequently as you re-rendered the distant cubemaps, so it’s a bit of a tradeoff.
With further control of the pipeline, it’s probably possible to speed things up some more by using multiview rendering, or clever batching.
Closing thoughts
This is a really neat technique! I could see this ending up in more games, although it’s obvious that to get as good a result as we see in the Shadowglass videos requires a lot of tuning. There’s definitely some more stuff going on in Shadowglass (and it’s possible I’ve completely missed the mark).
One thought I’ve had is that for close up objects, it might make sense to do the inverse of this approach. Something like octahedral imposters but pixelated.
Finally, I would be remiss to write a post on screen space pixelization without mentioning Return of the Obra Dinn, which implements a similar technique for dithering. The main difference being that the Obra Dinn approach doesn’t take into account depth, it’s similar to the original cubemap approach without reprojection.
I’d like to thank the Shadowglass creator for all of his footage, and Lunar Blank for their video and insight into the cubemap approach.