So for a large project I’ve spent a month or two on I’ve been delving deeper into embedded device hacking/penetration testing. I’ve done some hardware engagements and have messed a bit for fun before, but nowhere to this extent.
As apart of these escapades I plan to make a bunch of posts of tips & tricks, insights, vulnerabilities, exploits, and all the other fun stuff that goes into learning new stuff and hacking.
So here is the first post that although isn’t directly related to the project above, is relevant which eventually you’ll find out about.
So to interact (like sniffing) with certain RF frequencies you need a fairly expensive SDR although the HackRF (Here’s the one I have) can sniff but since it isn’t a full duplex, it can’t send and receive.
The bar in price from something like the HackRF to the next best device that still has the same frequency range is massive.
LimeSDR, Ettus USRP B210, etc are quite expensive and I wasn’t willing to bite the bullet for the use cases I have in mind atm.
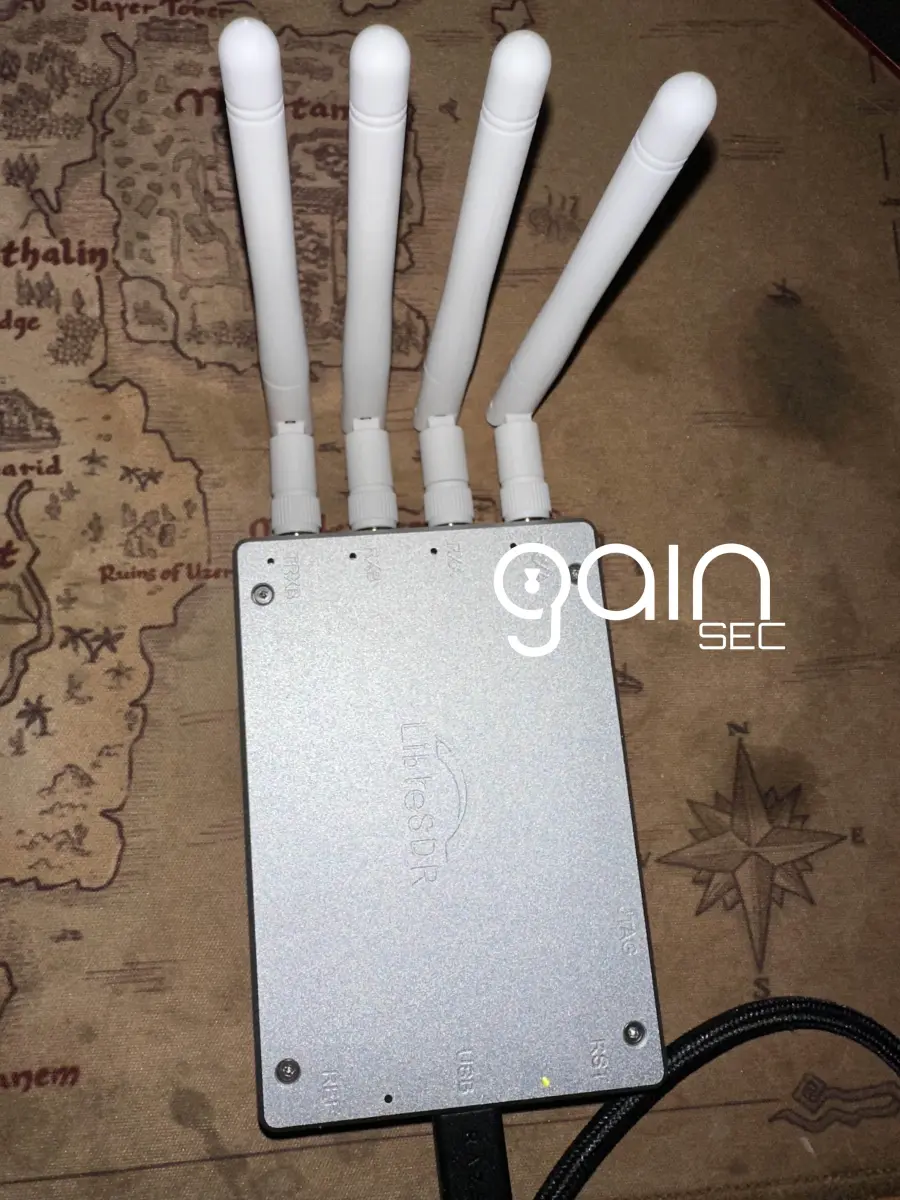
So at first accepting defeat, I eventually stumbled onto the LibreSDR. It is a $300 or less 70MHz-6GHz; 2 recieve, 2 transfer; B220/B210 knockoff Ettus USRP B210.
If you look up a lot about the device there isn’t much but the awesome @cemaxecuter recently purchased one for some testing he’s doing and you can also find a video or two of others on YouTube testing the device 1 2. I also saw some tweets on X about people using them successfully.
So with at least someone more then an anonymous redditor showing their usage I purchased one. Link HERE. (Can always get it off OpenSourceSDRLab’s AliExpress or Ebay Storefronts as well).
I chose this seller because of my positive experience with the HackRF + Portapack knockoff I bought from them and the fact they’re called out as a legit manufacturer by both the HackRF Mayhem Firmware Devs and sold on Lab401 which is the go-to shop for pen testers and hacking in the EU.
Whew, with all of that out of the way, here are the steps I had to do after unboxing the device to get it successfully running on my box.
Starting with Windows:
Install the USRP Hardware Package from HERE
Then install the Windows UHD USB Drivers from HERE
When you plug in the device, it will likely be seen under the “Unknown Device” category as “Westbridge” within Device Manager. If that’s the case, you just need to update the driver and select the extracted directory of the USB drivers just downloaded.
Now it should show up as Ettus Research LLC. Sweet!

Now this where I had some trouble getting VMWare or VirtualBox to recgonize the device properly so I ended up just getting it configured to connect to a Ubuntu VM via WSL.
So here’s how to set up the device for Linux:
sudo apt-get install libuhd-dev uhd-hostOnce that’s done installing lets download the latest images:
python3 /usr/lib/uhd/utils/uhd_images_downloader.pyAnd before we check if the device is recongized lets connect it to the WSL instance:
usbipd list
Find the Ettus Research LLC USB Device from the list and bind it via it’s BUSID
usbipd bind --busid 2-1Then attach it via its BUSID
usbipd attach --wsl --busid 2-1And now in the WSL instance if you list USB devices, it should be there!
lsusb
Now if you try:
uhd_find_devicesIt should recongize the device.

However when you try:
uhd_usrp_probeYou’ll get a “fx3 is in state 5”.

Turns out you’ll need a custom image which you can grab from the dev (or one of the devs) of the DragonOS project:
git clone https://github.com/alphafox02/LibreSDR_USRP
cd LibreSDR_USRP
Now lets copy to UHD’s images directory:
cp usrp_b210_fpga.bin /usr/share/uhd/images/And tell UHD to reload the new image:
uhd_image_loader --args="type=b200"
Now let’s probe the LibreSDR again:
uhd_usrp_probe --args="type=b200"

Functioning as expected!
Awesome!
Sources: 1
END TRANSMISSION
Published